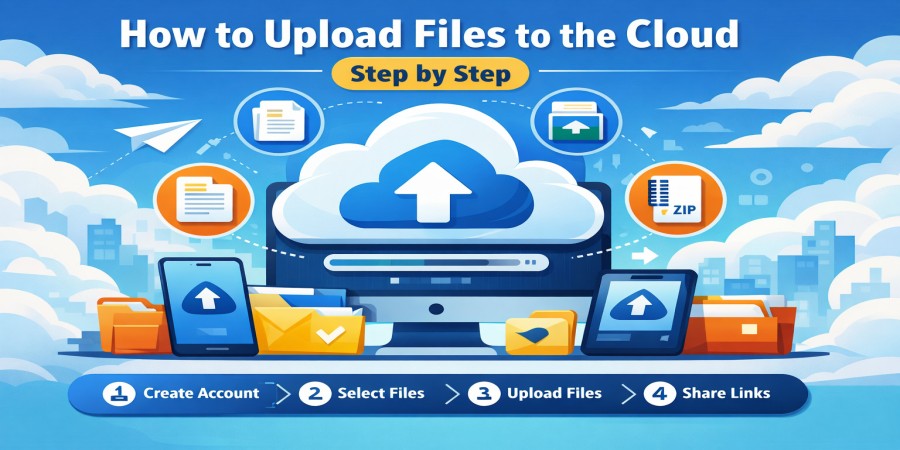
How to Upload Files to the Cloud Step by Step (Beginner Guide 2026)
Apr 01, 2026 04:31 PM
Leandro Neto
How to Upload Files to the Cloud Step by Step
Cloud storage has become one of the most practical ways to store and manage digital files. Instead of keeping files only on your computer or smartphone, cloud storage allows you to upload them to secure online servers where they can be accessed anytime.
Uploading files to the cloud makes it easier to back up important data, share large files, and free up space on your devices.
Platforms like AngoFiles provide a simple and secure way to upload, store, and manage files online.
In this guide, we explain how to upload files to the cloud step by step, even if you are completely new to cloud storage.
What Does Uploading to the Cloud Mean?
Uploading files to the cloud means transferring files from your device to an online storage server.
Once a file is uploaded, it is stored securely online and can be accessed from different devices using the internet.
Files commonly uploaded to the cloud include:
- documents
- photos
- videos
- music
- compressed files
- software files
This allows users to keep important data safe and accessible at any time.
Step 1: Choose a Cloud Storage Platform
The first step is selecting a reliable cloud storage platform.
A good platform should provide:
- secure file storage
- easy file uploading
- simple file sharing
- fast download speeds
Platforms such as AngoFiles are designed to make uploading and sharing files quick and easy.
Step 2: Create an Account
Before uploading files, you need to create an account on the cloud storage platform.
The registration process usually includes:
- creating a username
- entering your email address
- choosing a secure password
Once the account is created, you will have access to your personal cloud storage space.
Step 3: Log Into Your Dashboard
After creating your account, log into the platform using your credentials.
Inside your dashboard, you will typically see options such as:
- upload files
- manage folders
- view stored files
- generate download links
The dashboard is where you control your entire cloud storage system.
Step 4: Click the Upload Button
To upload a file, locate the Upload button in the interface.
This button allows you to select files from your device.
When you click it, a file selection window will open where you can choose the files you want to upload.
Step 5: Select Files from Your Device
After clicking upload, browse your computer or smartphone and choose the files you want to store in the cloud.
You can upload different types of files such as:
- documents
- photos
- videos
- large media files
Many cloud platforms also allow uploading multiple files at once.
Step 6: Wait for the Upload to Finish
Once the upload begins, the system transfers your file from your device to the cloud server.
Upload time depends on several factors:
- file size
- internet speed
- server performance
Larger files naturally take longer to upload.
During the process, most platforms show a progress bar so you can monitor the upload.
Step 7: Organize Your Files
After uploading files, it is a good idea to organize them into folders.
For example:
Work Files
- reports
- presentations
- projects
Personal Files
- photos
- videos
- documents
Organized folders make it easier to find files later.
Step 8: Share Files with Others
One of the biggest advantages of cloud storage is file sharing.
Instead of sending large files through email, you can generate a download link.
You simply copy the link and send it to anyone who needs access to the file.
This method is faster and more efficient for large files.
Tips for Faster File Uploads
If you regularly upload files to the cloud, these tips can help improve performance.
Use a Stable Internet Connection
A strong internet connection improves upload speed and reduces interruptions.
Compress Large Files
Compressing files into ZIP or RAR formats can reduce file size and speed up uploads.
Upload Files in Smaller Batches
Uploading too many files at once may slow down the process.
Uploading in smaller batches can improve stability.
Benefits of Uploading Files to the Cloud
Uploading files to cloud storage offers several advantages.
Secure File Storage
Files are stored safely on remote servers.
Access from Anywhere
Files can be accessed from multiple devices.
Easy File Sharing
Large files can be shared quickly using download links.
Device Storage Optimization
Uploading files to the cloud frees up space on your computer or smartphone.
Platforms like AngoFiles make this process simple and efficient.
Conclusion
Uploading files to the cloud is one of the easiest ways to manage and protect your digital data. With just a few simple steps, users can store files online, organize them efficiently, and access them from anywhere.
Whether you want to back up important documents or share large files with others, cloud storage provides a reliable and convenient solution.
Learning how to upload files to the cloud is an essential skill in today’s digital world.
🚀 Start Uploading Your Files Today
Ready to store and share your files online?
Use AngoFiles to upload, manage, and share your files securely.
✔ Upload large files easily
✔ Access files anytime
✔ Share files instantly with download links
Start now and experience a smarter way to manage your digital files.
Login or create account to leave comments
Popular articles
Optimizing Digital Work: How Cloud Storage, File Sharing, an...
Dec 14, 2025 04:08 PM

Upload and Share Your Files with Ango Files
Dec 14, 2025 03:45 PM

Best Secure Cloud Storage for Business in 2026
Jan 17, 2026 11:19 AM

Best Free Cloud Storage Services in 2026
Apr 03, 2026 07:01 AM

How to Send Large Files Over the Internet for Free (Complete...
Mar 30, 2026 05:19 PM
Categories
Comments (0)